
How to create a hand-tied bouquet
This week I headed to flower school courtesy of my fave little flower shop Kingfisher Farm Shop, who were running a workshop in the Abinger Cookery School (another local fab find). We were there to master the art of how to tie a hand-tied bouquet, which is something I’ve been trying to fathom for a number of years. Yes, it’s easy to assume you can throw a beautifully crafted bouquet together when you watch the professionals rustle one up in a nano-second, but transport those blooming beasties home and try and do it myself? Well, that’s a whole heap of floral carnage waiting to happen.

We gathered in the gorgeous Abinger Cookery School lounge for a welcome coffee and cake… seriously delicious…

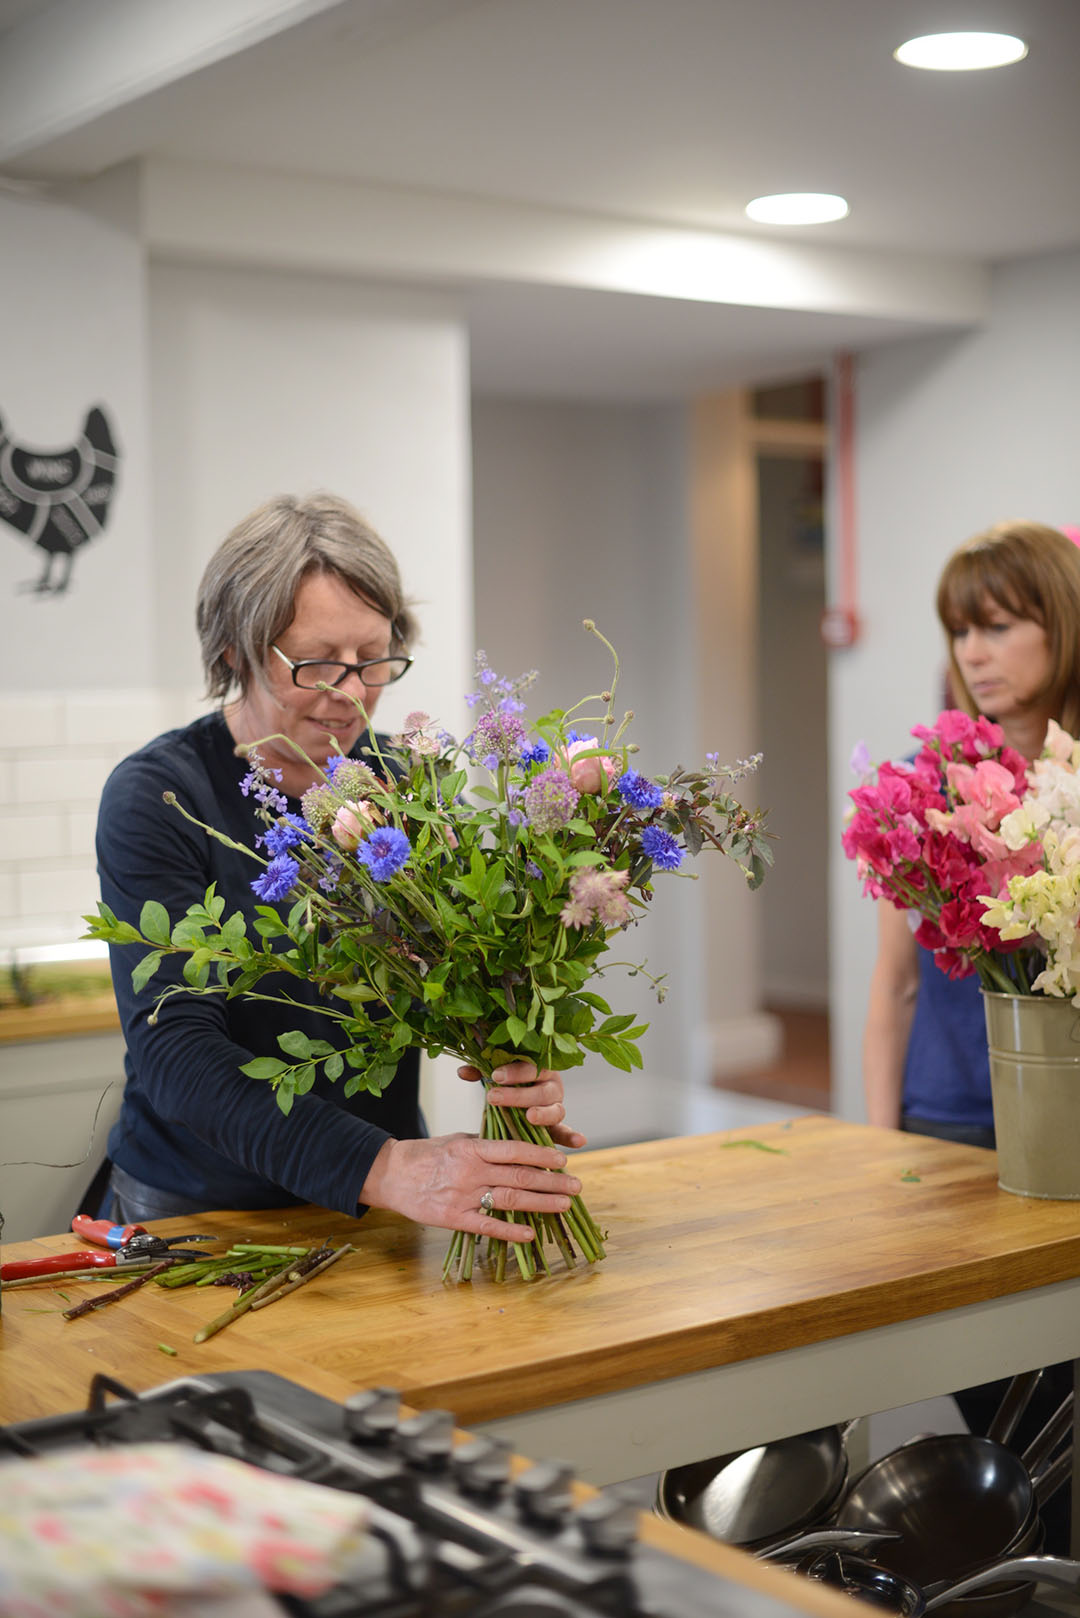
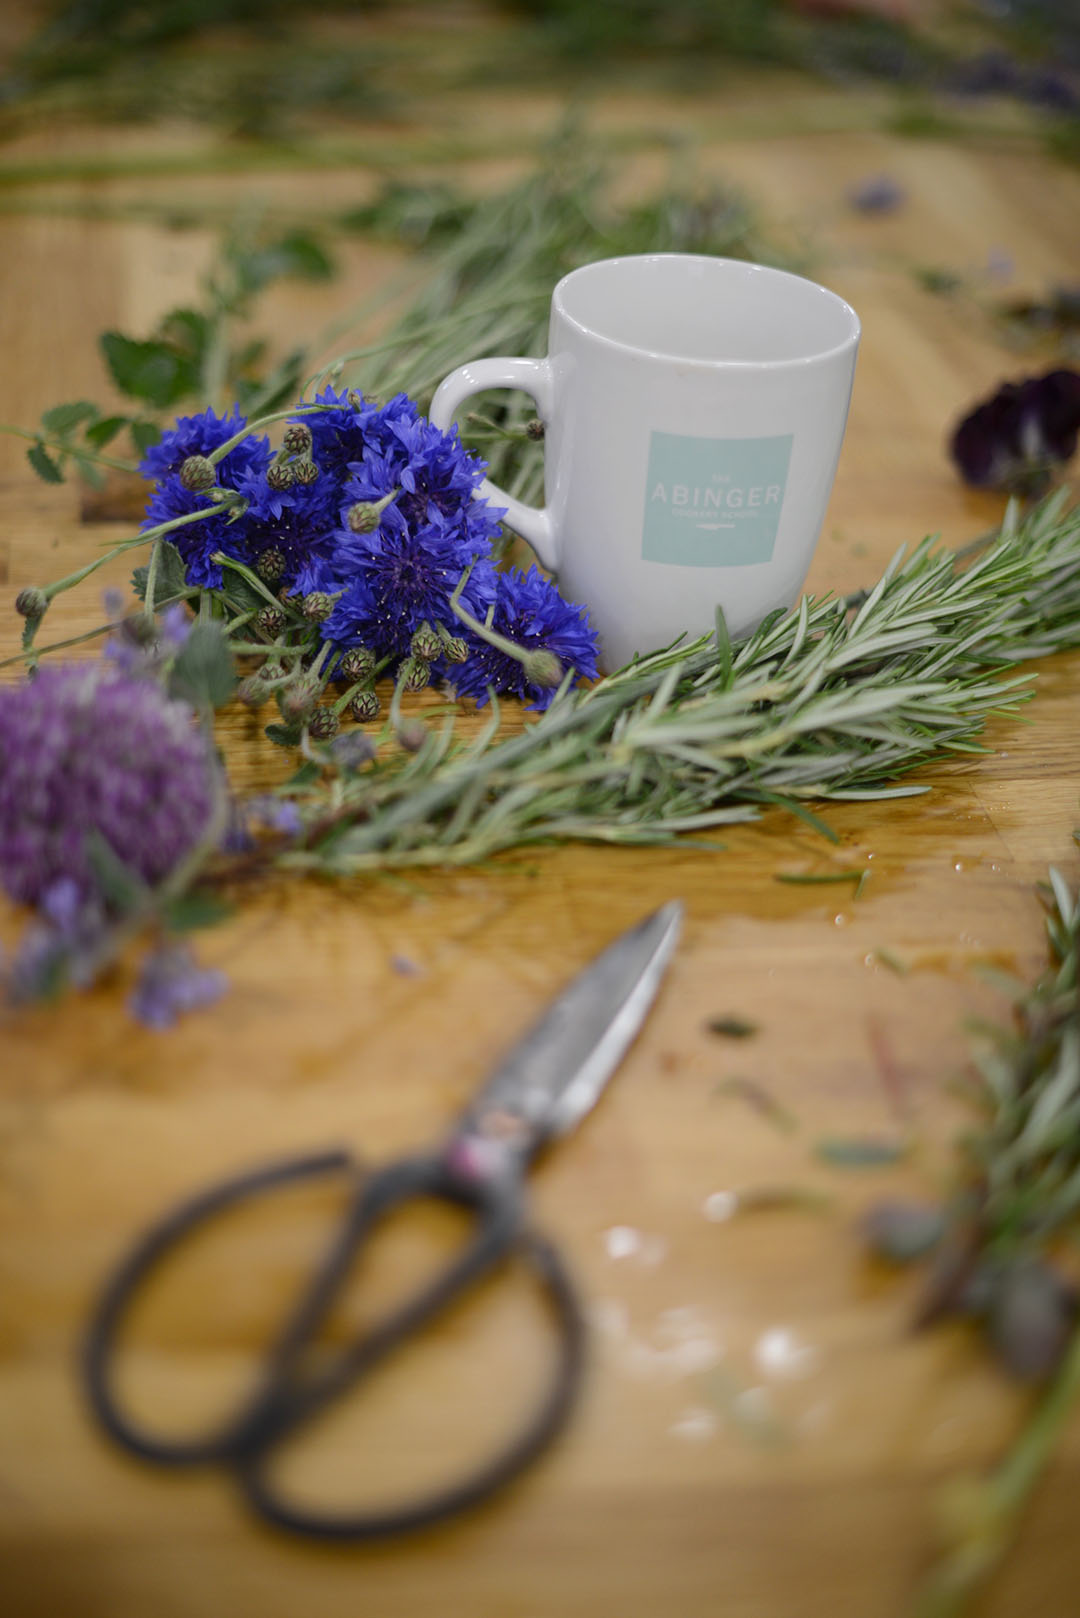
Then we took our places in the workshop to listen to floral guru Marion McBurney, who has created the most amazing flower shop in the beautiful surrounds of the famed watercress beds at the Kingfisher Farm Shop in Abinger. It’s definitely my go-to place to get interesting and inspiring flowers each week.
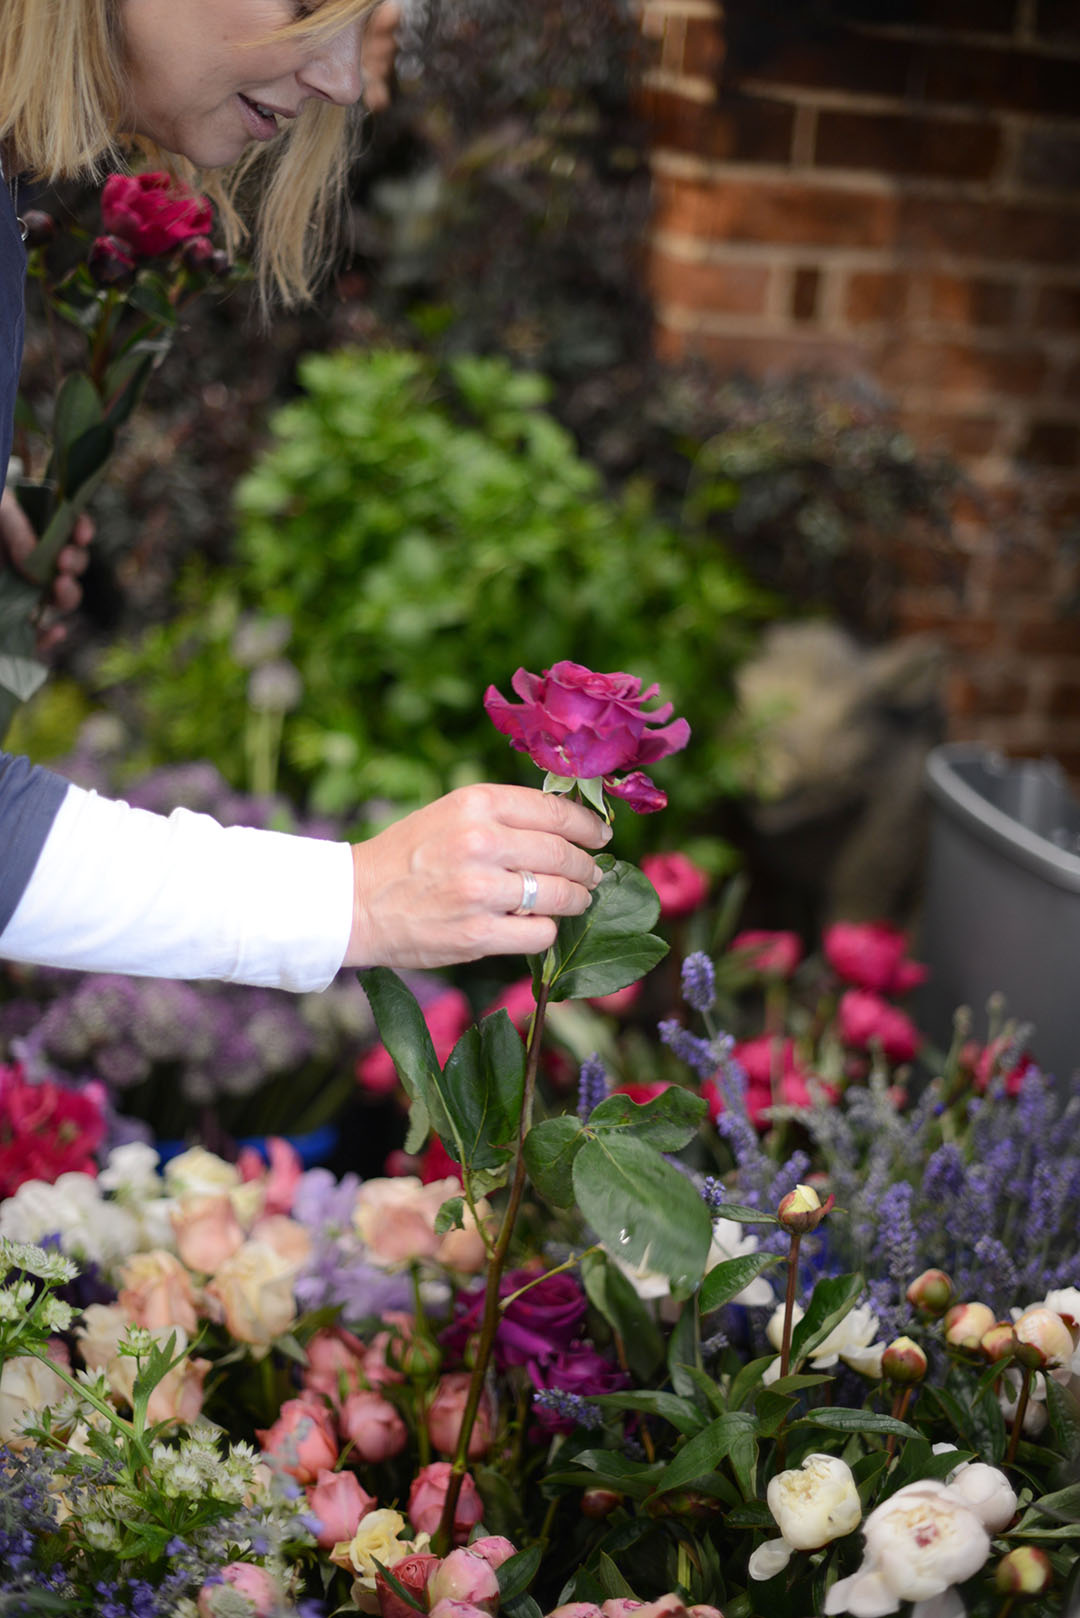
First up, when choosing your flowers you need to think about them as brides, bridesmaids, and congregation. Choose a few (preferably an odd number) of stand out blooms which will be your main bouquet focus and therefore the ‘brides’. Followed by slightly less spectacular flowers for ‘bridesmaids’ and some leafy greenery for your ‘congregation’ which helps with the scaffolding of the finished bouquet. Pick around 4 or 5 different blooms.
The dark art of building a bouquet is a mixture of working with colours, textures, height, width and listening to your inner creative forces to direct you on whether your bouquet is making you feel happy! Once you’ve selected your flowers, you need to strip the stems so that you don’t have any messy leafy bits impeding your work as you gather the stems.
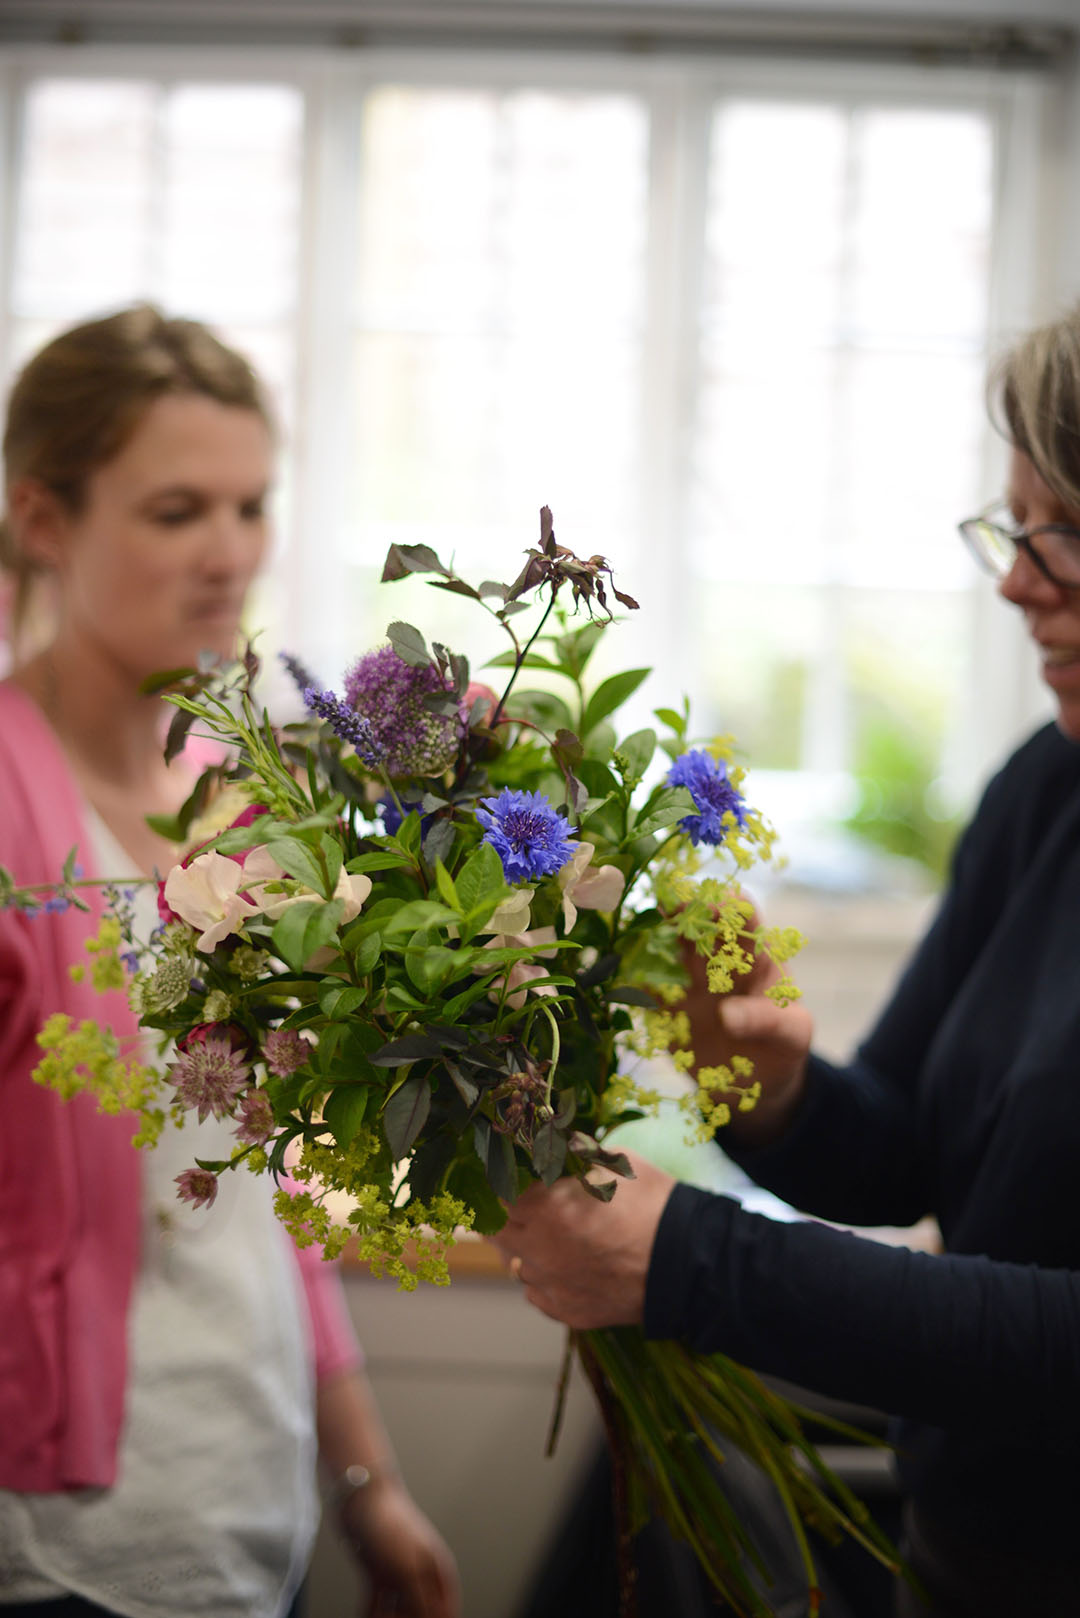
Begin with a few pieces of greenery, holding the beginnings of your bouquet in one hand and then adding blooms with the other; turning the group of stems of the bouquet in your hand to accommodate the new items you are adding. Don’t stick to a pre-prescribed pattern, but just go with the flow when adding your flowers – it’s all about feeling it appaz.
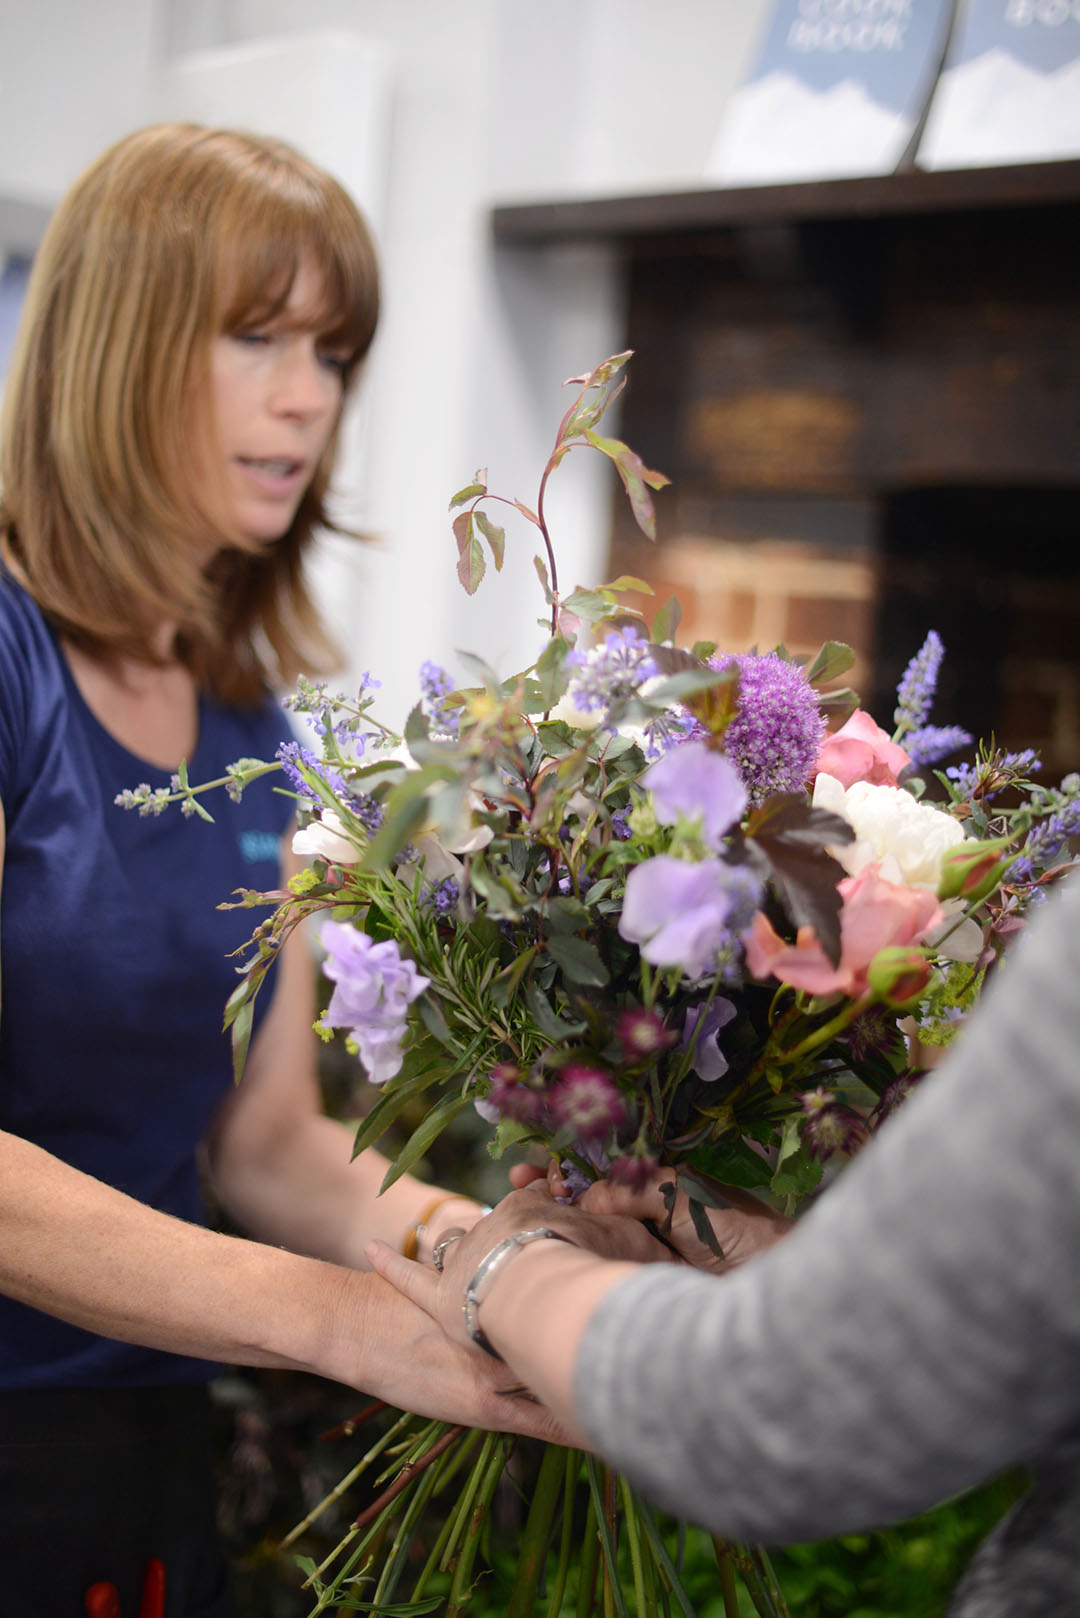
Make sure you check the front of your bouquet for form as you’re adding flowers, in case one side is becoming more weighty than another. It’s also good to keep the bouquet looser rather than tighter as you are creating it. “Enough room to let the butterflies in” is the Kingfisher Farm Flower Shop mantra.
To tie off using twine or oasis wire, hold one end of the twine down with the thumb of the hand holding the bouquet, and then wrap the twine once or twice around the stems above the top of your hand before securing with a knot or bow.
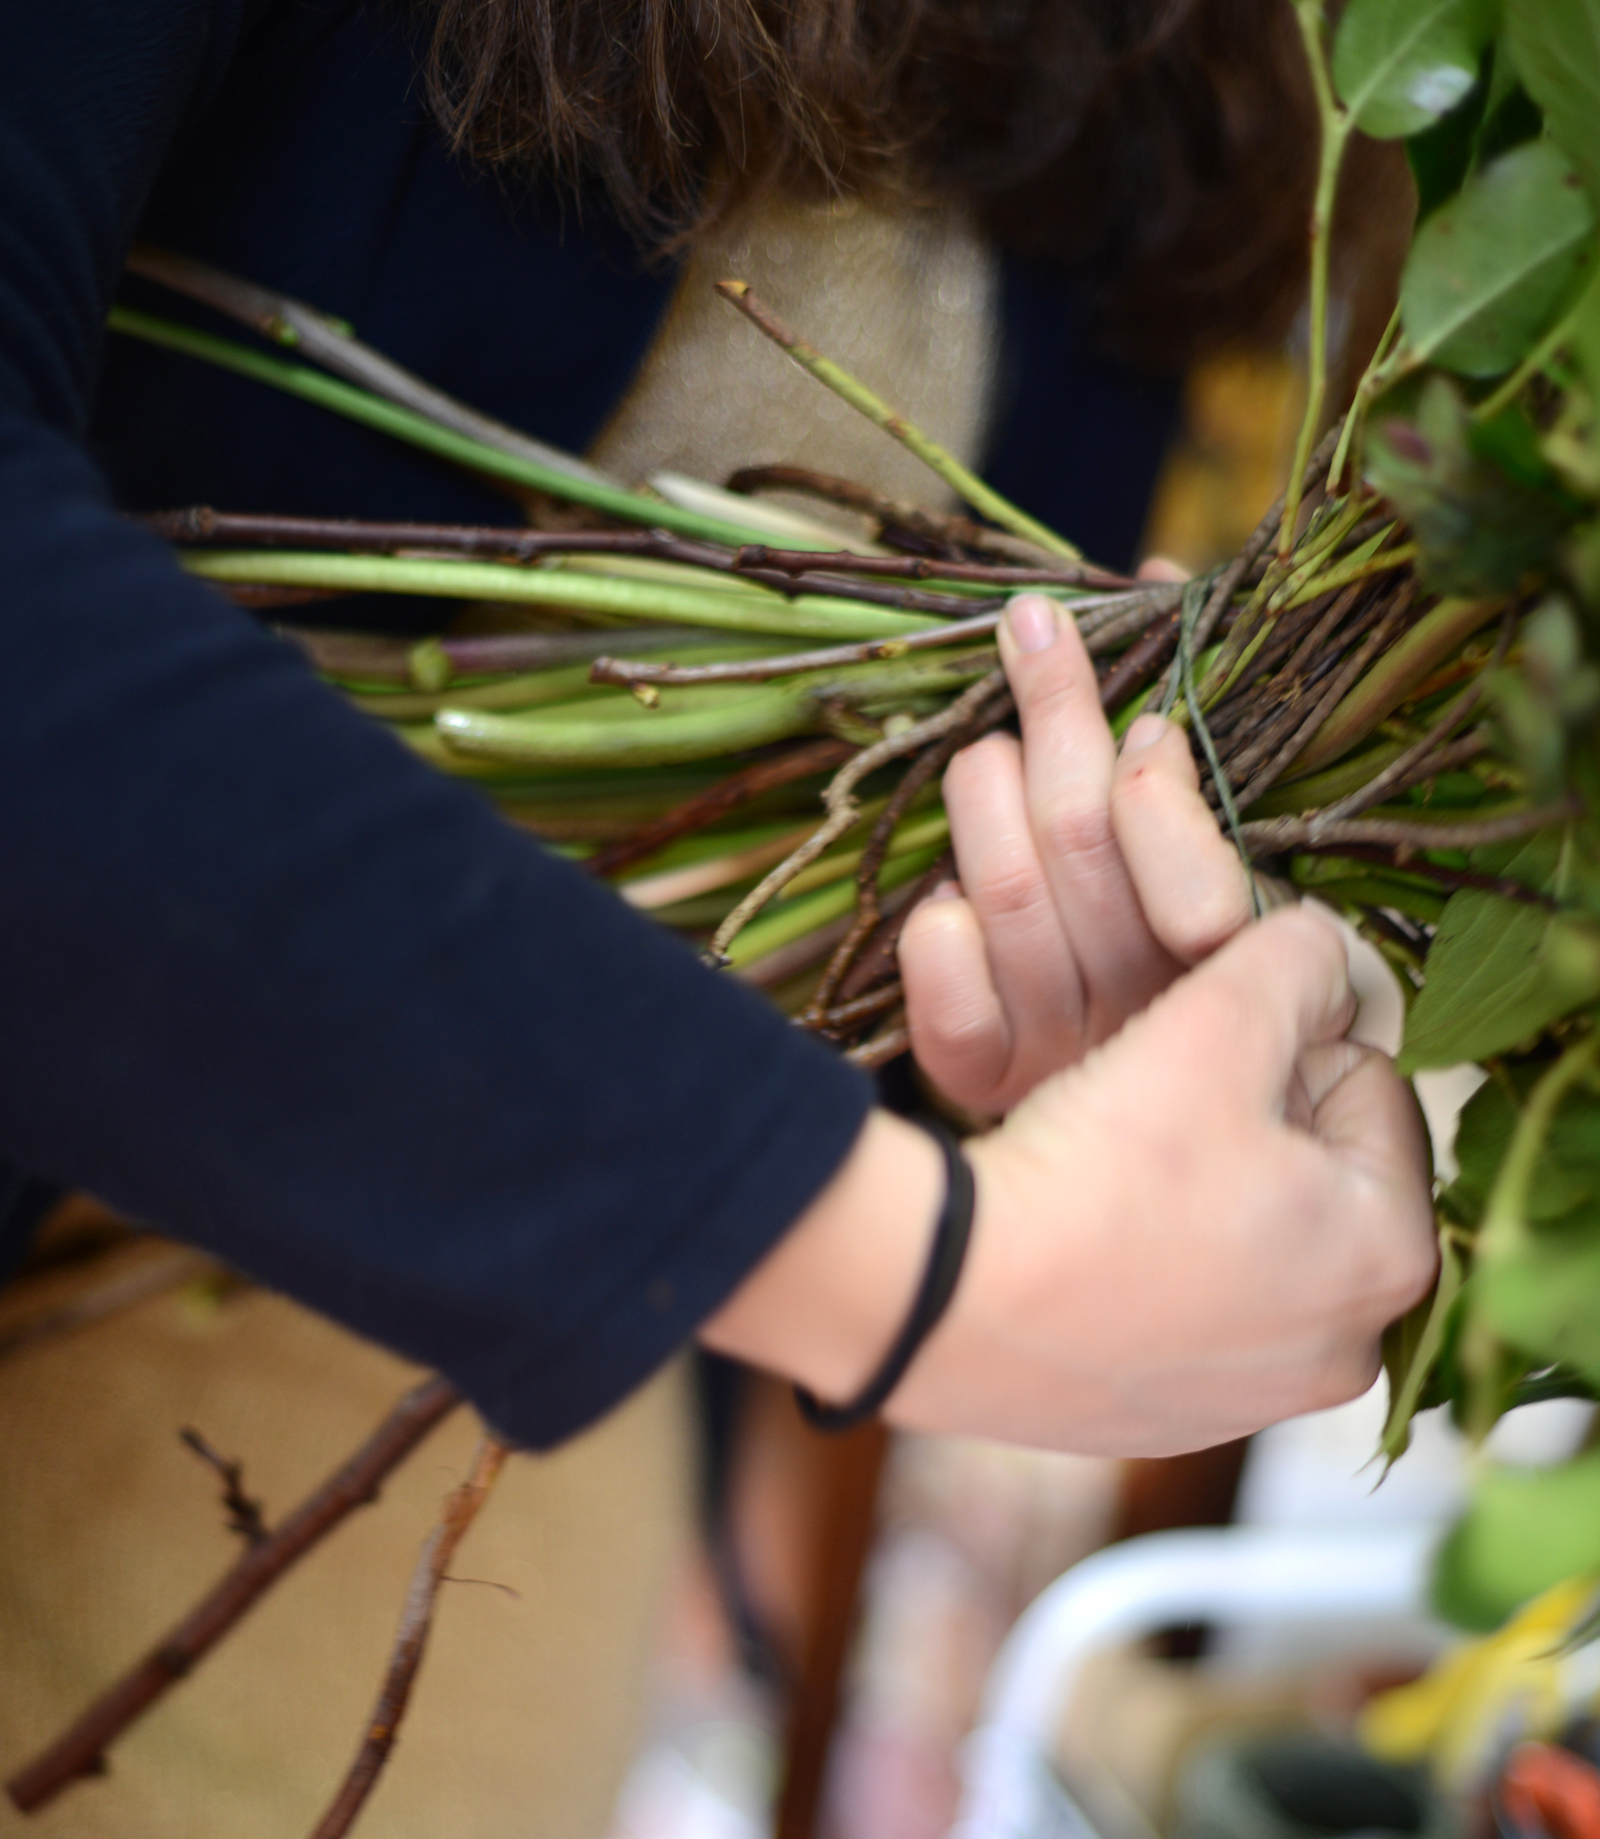
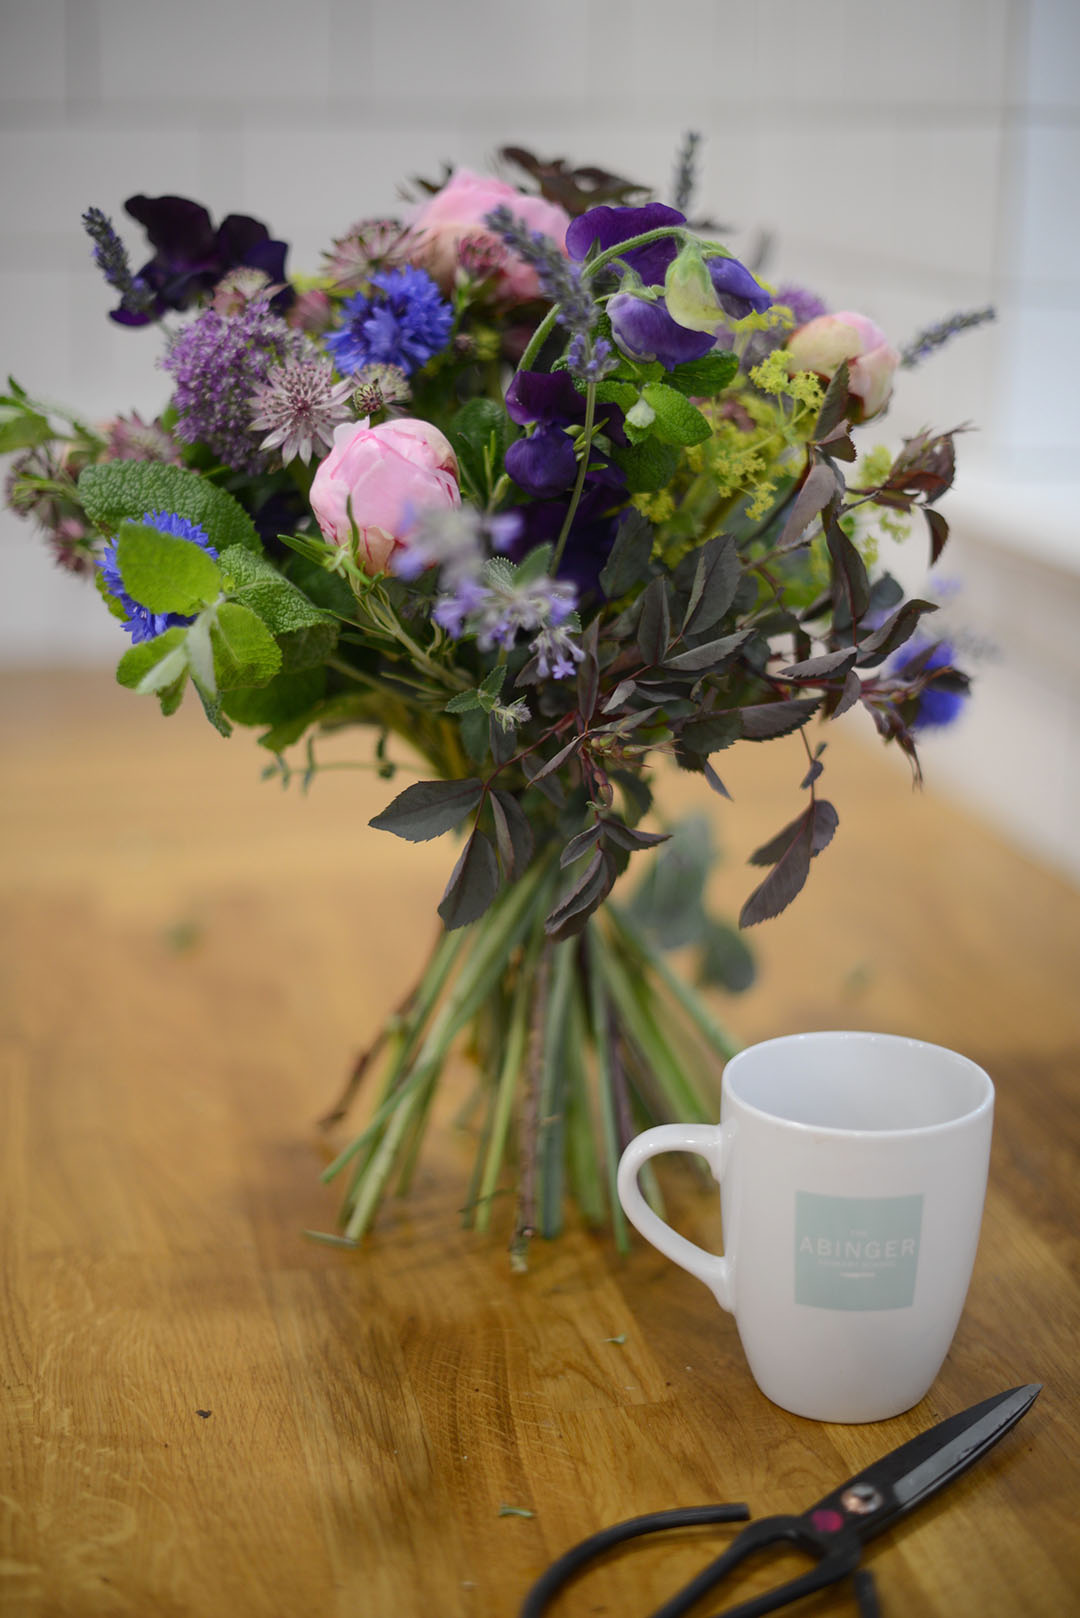
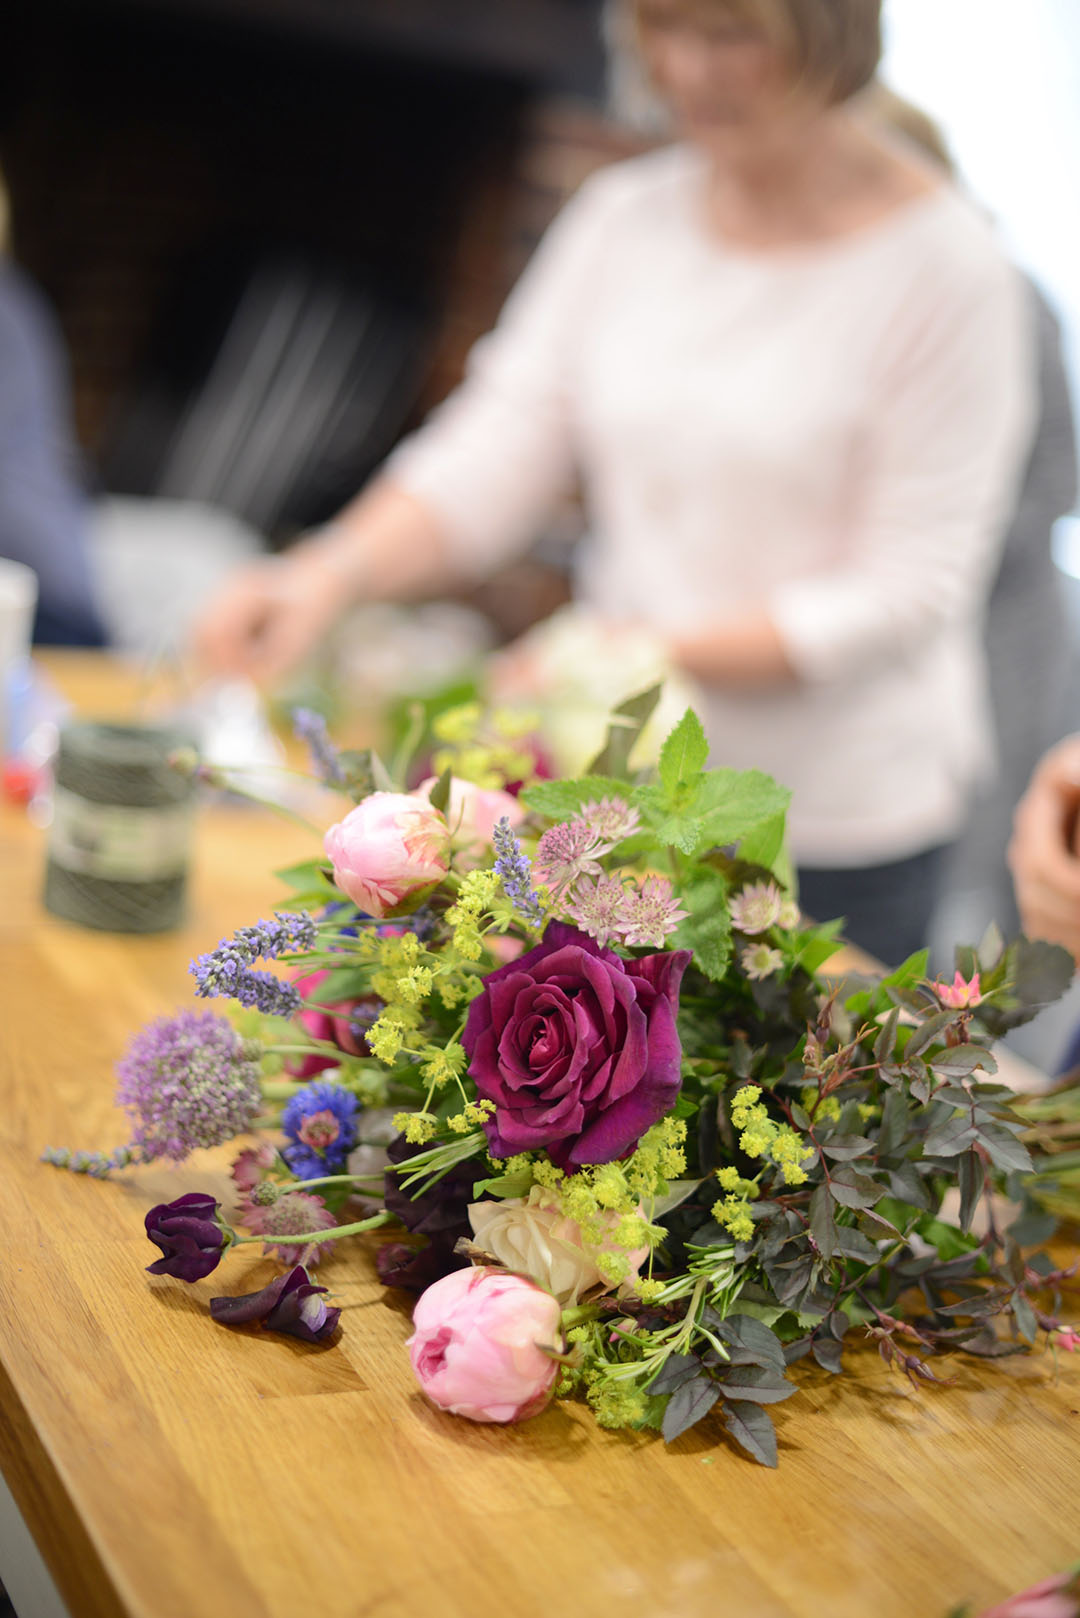
Trim the stems to the same length (look for the smallest stem and use that as a guide). The sign of a successful bouquet is being able to have it stand alone in a ta-daaa kinda fashion…see my finished attempt below.
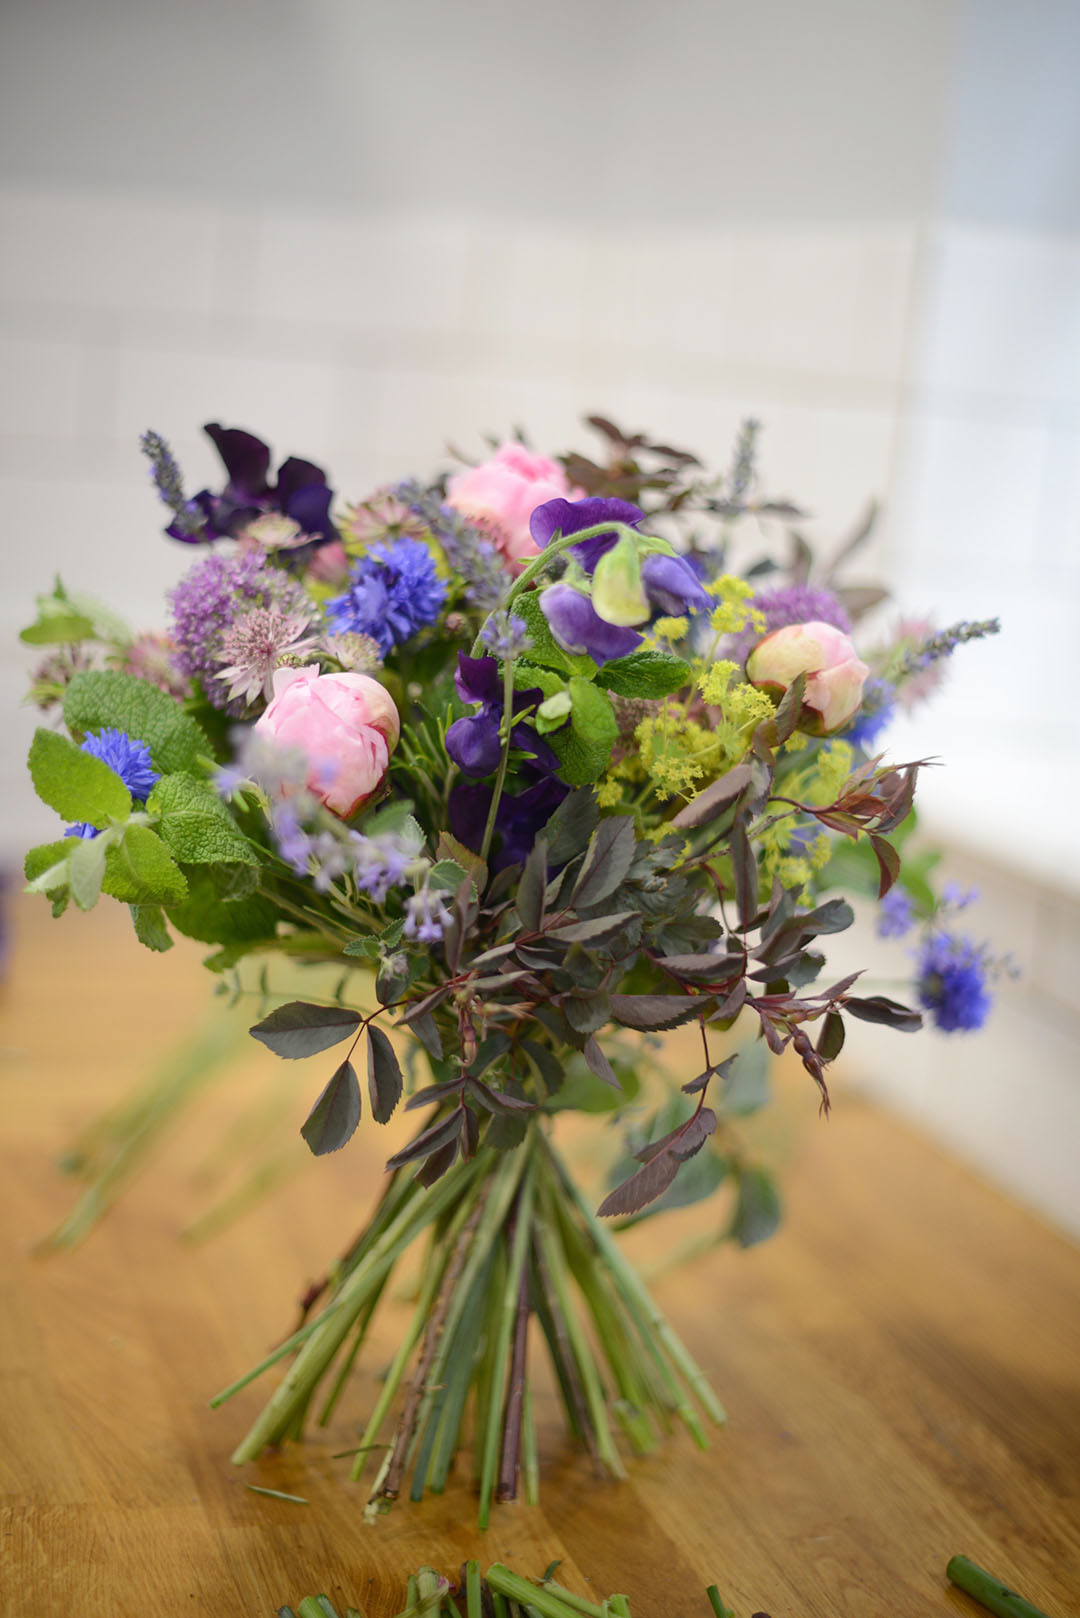
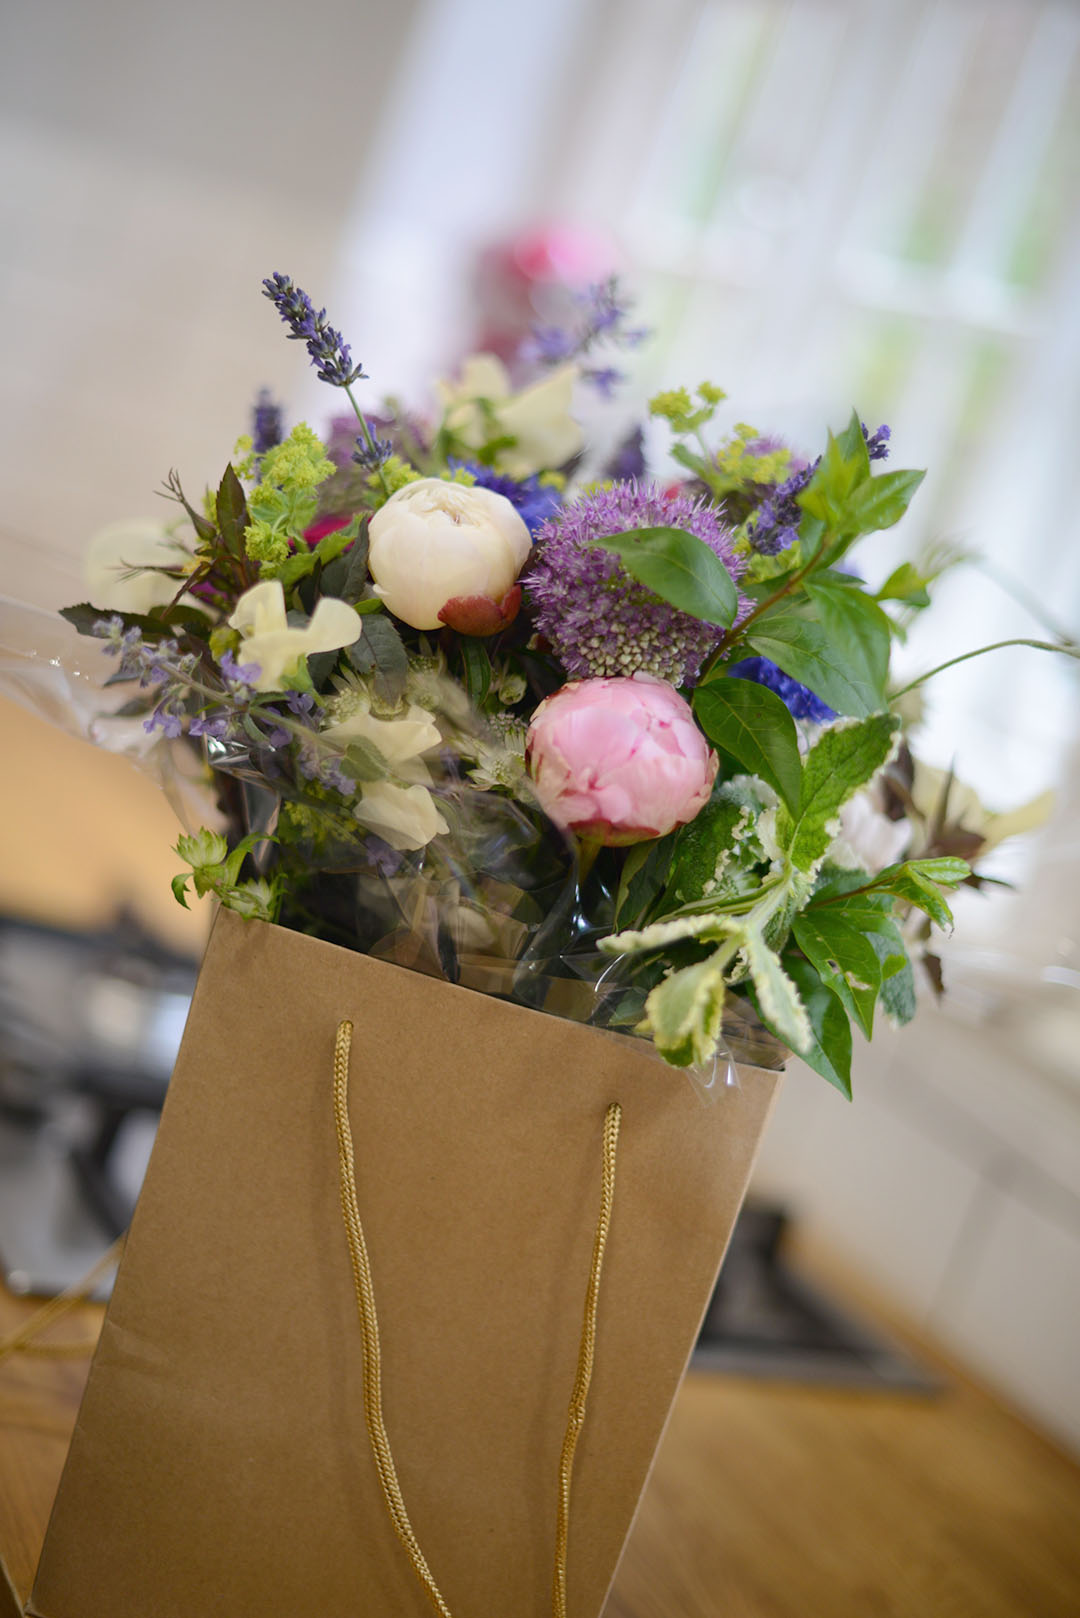
So, after a fun morning and no sliced fingers from sloppy secateurs work, we were able to take our masterpieces home.
With thanks to the team at the Kingfisher Flower Shop for the fun workshop.
For more info on courses and classes at the Abinger Cookery School – check out their website here. I’ve already signed hubs up to a BBQ course with Weber just in time for Father’s Day gifting. For more gift ideas for the dad in your life check out our recent gift guide post here.